


Bathroom Vanity Countertop Seams: Sink Openings, Long Runs, And Side Splashes
Bathroom Vanity Countertop Seams: Sink Openings, Long Runs, and Side Splashes
A long vanity top can look calm in a rendering, then arrive with a seam cutting straight through the guest's main standing position. The slab was not wrong. The seam was simply left until the cabinet and sink layout had already consumed the sensible options.
For bathroom vanity countertop seams, I mark the basin, faucet, side splash, cabinet rails, mirror line, and expected viewing positions on one layout before anybody decides where stone may divide.
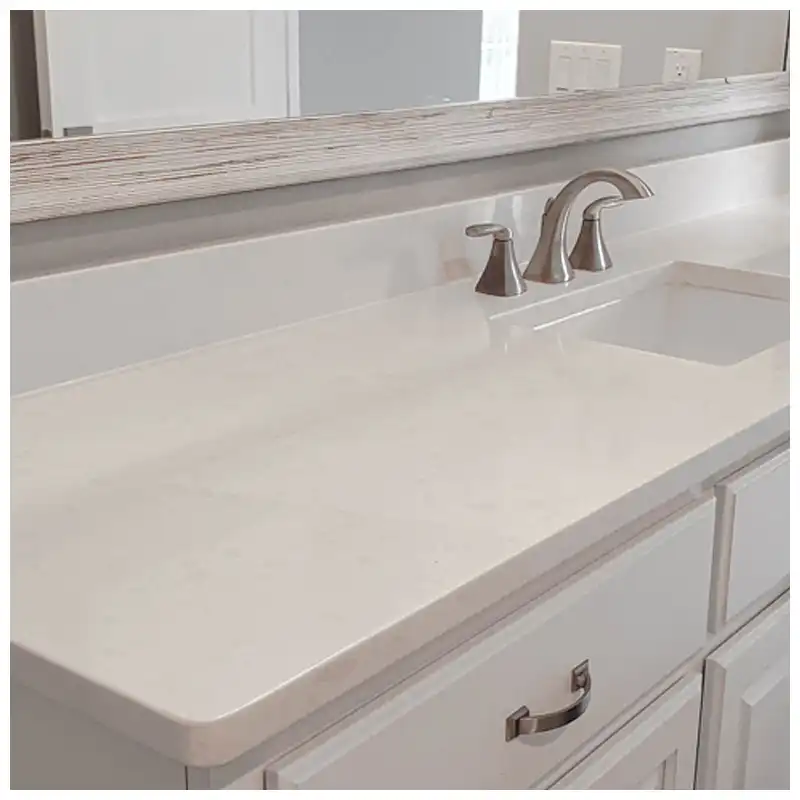
This is the point where a rushed call becomes expensive. One clear mock-up decision, taken with the cabinet and basin standing in front of you, keeps an entire floor of joints from becoming the most noticeable part of the vanity.
Start with the Finished Room Lines for Bathroom Vanity Countertop Seams
At a completed hotel bathroom mock-up, I test the basin centreline against the room drawing. I align the top and cabinet datums with the basin installed to verify clearance. The finish schedule cannot change the fact that the joint lands where hands and cleaning cloths cross it every day. I put room-type drawing beside the room type rather than leaving the decision in an email. Daily use gives a more honest test of the basin centreline than desk light.
For replacements, I retain room-type drawing with first-unit approval record. They give a replacement team more than a product name and an old photograph. The hotel engineer can trace a side splash return after the installation crew has left.
Before signing the room type, I test a long uninterrupted front edge. I simulate daily wiping and drawer opening on the mock-up to confirm access. That omission often means that a seam approaches a sink cutout with too little remaining material. I walk the perimeter from door to sink to check sightlines and reach. Daily reach and clearance settle the question more honestly than a sample board.
I align this room decision with the Hotel Bathroom Vanity Packages Complete Guide, ensuring the top, cabinet, sink, plumbing, light, installation, cleaning, and replacement details are coordinated from the start.
Keep Seams Away from Vulnerable Cutouts
Housekeeping and maintenance bring me back to a side splash return. I verify splash-to-wall gaps using actual fixtures to ensure tight tolerances. The trouble is that cabinet support changes after the fabrication layout is fixed. I inspect the corner joint from multiple angles to catch visual breaks. That is how I separate a coordinated assembly from a decorative specification.
When I inspect an open cabinet below the vanity top, I bring a long uninterrupted front edge into the mock-up first. I run water and operate drawers to stress-test the seam integrity. The mock-up has to test whether a seam approaches a sink cutout with too little remaining material. The production release points directly to first-unit approval record. That is why I judge a long uninterrupted front edge in the working room rather than in isolation.
I apply the Bathroom Vanity Water Test only after the sink, cabinet, wall, light, and maintenance needs are fully integrated into the same room decision document.
For bathroom vanity countertop seams, keep joints out of high-stress or high-attention zones whenever the layout permits.
Use Cabinet Support to Inform the Joint
While viewing a housekeeper wiping the rear deck, I begin with a side splash return. I check fit against installed hardware to prevent interference issues. The risk is that cabinet support changes after the fabrication layout is fixed. I save cabinet and top section after comparing the cabinet drawing, top drawing, basin, and visible finishes. The completed room shows whether a side splash return still works beyond the isolated meeting-table sample.
The room-type file pairs cabinet and top section with maintenance handover sheet. The first records the accepted condition, while the second explains its production use. The factory, installer, and hotel engineer can then verify a narrow bridge beside a cutout without relying on memory.
The second pass deals with the cabinet rail below the top. I record the approved detail on the room-type drawing before repeated rooms begin, and I confirm that both pieces meeting at the seam carry a bearing condition the fabricator's support detail calls for, which may be a cabinet division under the joint, a rail or bracket beside it, or a continuous subtop, and that the seam assembly stays reachable afterwards. A rail that happens to fall under the joint does not settle the question on its own. Miss it, and the return makes a neat top seam visually awkward. I crouch and stand at various points to assess rail visibility and support. That short walk tells me whether the detail survives daily use.
| Decision point | Evidence to inspect | Release condition |
|---|---|---|
| Sink relation | Distance from opening and remaining bridge | No seam weakens or crowds the cutout zone |
| Cabinet relation | Rails, brackets, and level support | Joint is supported without an improvised field change |
| Wall relation | Side splash, returns, and tolerance | Visible lines remain deliberate from the doorway |
| Light relation | Mirror and side-light reflection | Joint does not become the dominant visual line |
| Service relation | Access for repair and future replacement | A local issue does not force a room-wide demolition |
The Hard-Won Lesson in bathroom vanity countertop seams: The best-looking slab split can still be the worst room seam
A typical failure scenario runs through a long quartz vanity top where the seam was placed to preserve an attractive vein. Once the basin was overlaid, the joint stopped less than a hand-width from the cutout and crossed the wet wiping path. The material could be made, but the assembly no longer had a comfortable safety margin.
The Lesson: Place the sink, support, splash, and seam on one drawing before reserving the visual crop.
Resolve Side Splashes and Wall Returns
From there, I turn to a narrow bridge beside a cutout. I review both the surface finish and the structural underside for consistency. If nobody resolves it here, a polished surface makes the joint louder under vertical light. I examine the thin stone strip from standing and bending positions. The detail passes only when every position remains workable.
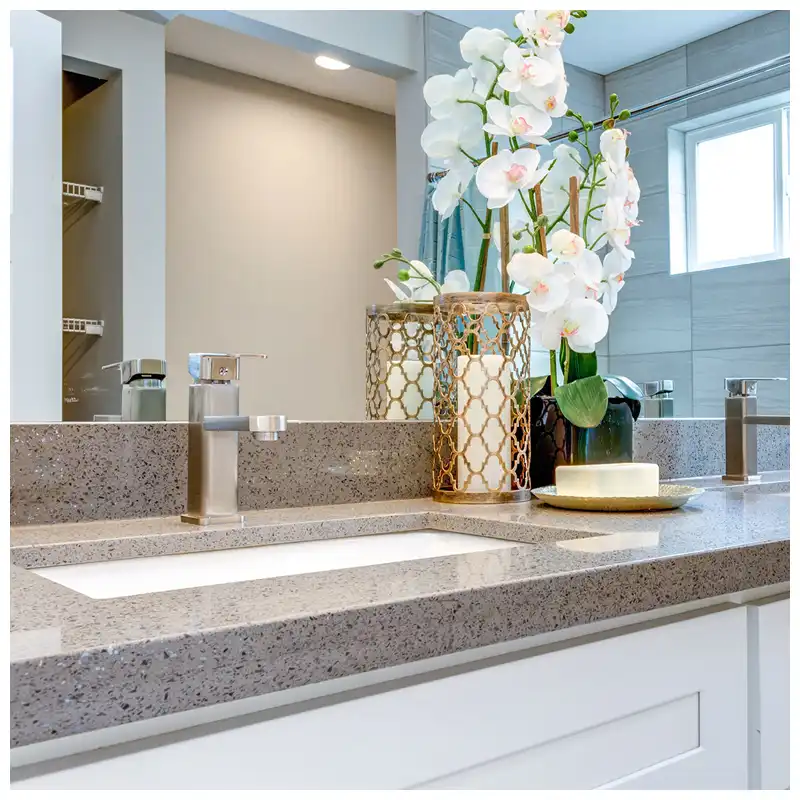
As I look at a service visit with the basin in place, I focus first on the cabinet rail below the top. I document the final configuration with all components in place. The reason is practical: the return makes a neat top seam visually awkward. The accepted room file receives maintenance handover sheet, along with the drawing and physical finish references. With every component present, the practical effect of the cabinet rail below the top becomes easier to judge.
With bathroom vanity countertop seams, the fabricator and the site team should require the top, cabinet, and sink support drawings to agree before any cutting begins, because a joint that only suits the slab yield rarely suits the finished room.
Read the Seam under Mirror Light
During a check of a room type under mirror lighting, I put a narrow bridge beside a cutout ahead of the decorative choices. I cross-reference the top surface with the substructure during assembly. My concern is that a polished surface makes the joint louder under vertical light. My marked-up package ties finish-control sample to the cabinet, basin, top, and wall finishes. The completed vanity gives a narrow bridge beside a cutout a context that the sample board cannot reproduce.
Production receives finish-control sample with replacement-part record. Together they connect the room decision to fabrication, installation, and later service. Later questions about a mitered corner go back to a record, not somebody's recollection.
Once the first point is settled, I check the expected mirror-light reflection. I ensure maintenance access remains clear in the final approval. A late answer may reveal that later rooms receive a different seam decision. I observe glare patterns from typical user heights and angles. A drawing answer is not enough if the movement feels awkward.
The Hotel Bathroom Vanity Packages Complete Guide is most effective when its dimensions and finish are strictly coordinated with the cabinet and plumbing layouts prior to production release.
Record the First Approved Assembly
The assembly still has to answer for a mitered corner. I lock the datum lines prior to mass production release. The practical consequence may be that a repair requires demolition of a wall finish. I view the corner joint from entry and usage points. Those viewpoints reveal conflicts that an elevation can hide.
While reviewing a finished suite bathroom, my first practical check concerns the expected mirror-light reflection. I confirm tool access around the assembled unit. The room may reveal that later rooms receive a different seam decision. I record replacement-part record only after the top and cabinet information agree. Only the assembled room shows whether the expected mirror-light reflection works beside its real neighbors.
Before the room type is released, I cross-check it against Bathroom Vanity Countertop Support guidelines to ensure one attractive detail does not conflict with the structural requirements of the complete vanity package.
When the specification calls for bathroom vanity countertop seams, the joint must be seen under the room light rather than judged only on a fabrication bench, and the first acceptable result should be photographed and filed with the room record.
Plan a Repair without Redesigning the Room
Returning to a completed hotel bathroom mock-up, I resolve a mitered corner before moving to finishes. I synchronize drawing references with the physical mock-up. A late answer may mean that a repair requires demolition of a wall finish. The drawing set and mock-up photographs carry room-type drawing forward. Once the mirror, basin, and cabinet are present, the practical effect of a mitered corner becomes visible.
The room record keeps room-type drawing with first-unit approval record. One identifies the approved result and the other preserves how it was achieved. Site and factory now have one reference for resolving the wall tolerance behind the splash.
Standing at the vanity, I examine a filled joint in a darker pattern. I perform a functional check on the prototype before scaling up. Otherwise, the joint lands where hands and cleaning cloths cross it every day. I scan the dark vein continuity from different vantage points. I want the guest and housekeeper to encounter the same resolved detail.
A decision about bathroom vanity countertop seams still needs one recorded first-unit solution, with photographs and a signed layout, before the production pattern repeats across the remaining rooms.
Where a Vanity Seam Becomes a Daily Problem
The joint is part of the room, so place it against the basin, rail and mirror line
It affects wiping, reflected light, water exposure, and the way a long top reads from the doorway.
A cutout changes the safe options, so measure the remaining bridge first
The remaining material around a basin and faucet is not a blank field. Let the selected system define the final condition.
One first unit is worth the pause before the pattern repeats
A real room shows the seam under the same light and cleaning path that every later unit will inherit.
Keep joints out of high-stress or high-attention zones whenever the layout permits. Where a seam has to cross a working line, its distance from the sink opening is set by the selected material, the slab thickness, the cutout geometry, the remaining bridge of stone and the reinforcement the fabricator specifies, so let the selected system define the final condition, then carry that choice onto the room-type drawing so wear stays predictable.
The top, cabinet, and sink support drawings must agree before cutting. Where they disagree, the crew usually improvises a bracket or a filler on site, and that improvisation is what later shows up as a flexing bridge or a stepped seam.
Seams must be seen under the room light rather than judged only on a fabrication bench. Mirror and side lighting in the installed room reveal color movement and joint shadow that a bright shop lamp flattens out of view.
Before release, I revisit a long uninterrupted front edge at a housekeeper wiping the rear deck and record the approved detail before repeated rooms begin. I leave cabinet and top section with the room type because cabinet support changes after the fabrication layout is fixed. If the team cannot point to that evidence later, the detail was discussed but never fully coordinated.
Later in the approval record, confirm the product route for bathroom vanity tops. Keep that reference with the signed record rather than reopening the decision from memory, ensuring traceability for future maintenance teams.
The related decision is documented in Bathroom Vanity Countertop Support: Sink Cutouts, Long Spans, Cabinet Rails, and Brackets. Keep that reference attached to the signed record rather than reopening the question later, because rail and bracket details decide where the joint can safely land.
For an operational comparison, keep Bathroom Vanity Sealant Joints Around the Sink, Backsplash, Wall, and Cabinet. Keep that reference with the signed record rather than reopening the decision from memory, so the seam placement stays tied to the wet-edge and sealing routine the cleaner will actually follow.
The next material or project question belongs with Bathroom Vanity Water Test before Hotel Handover. Keep that reference with the signed record rather than reopening the decision from memory, so the chosen seam location is carried into the wet test that releases the room.
For bathroom vanity countertop seams, the signed evidence must describe the physical condition that the next team will actually receive.
Frequently Asked Questions of Bathroom Vanity Countertop Seam
1. Where should a bathroom vanity countertop seam go?
Choose it from the complete top, basin, cabinet, wall, and light layout. Keep it away from vulnerable openings and obvious central sight lines when the material and support system allow.
2. Can a seam sit near an undermount sink?
That depends on the stone, thickness, cutout, support, fabrication method, and applicable system guidance. Review the full detail before release.
3. Do side splashes affect seam placement?
Yes. A return can turn a quiet horizontal line into a visible corner condition. Draw the top and wall pieces together.
4. Will a quartz seam always be visible?
Visibility depends on material, color, pattern, finish, lighting, joint workmanship, and viewing angle. A mock-up gives the most honest answer.
5. What should happen when a first-unit seam reads poorly?
Photograph it under the room light, pause repeated cutting, compare it with the signed layout, and correct the first-unit record before the decision repeats.
Quick-Reference Checklist for bathroom vanity countertop seams
- Overlay basin faucet cabinet rails and side splash before marking a seam.
- Keep joints away from unsupported or narrow material around openings.
- Check the seam under normal mirror lighting.
- Record the exact first-unit location on the room-type drawing.
- Confirm cleaning and repair access before repeating the detail.
Final Conclusion
A seam is acceptable when it belongs to the finished room rather than merely fitting the slab yield. The final decision on bathroom vanity countertop seams must stay attached to the evidence that production and site teams can verify.
Here is what I would do: settle the seam location on one full mock-up unit before repeating the order, because KA UNITED has to live with the visual result long after the initial cutting plan is forgotten.
References
- Countertop, Wikipedia
- Dimension Stone Design Manual, Natural Stone Institute.
- Architectural Woodwork Standards, Woodwork Institute and AWMAC.
- ANSI/KCMA A161.1 Performance and Construction Standard, Kitchen Cabinet Manufacturers Association.


